
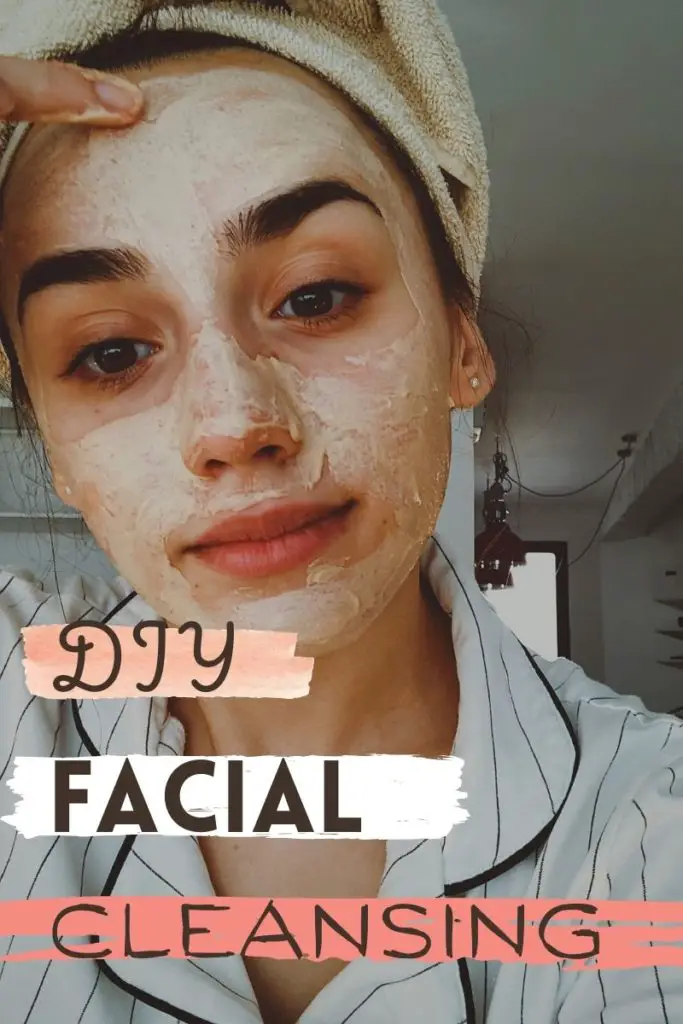
How to cleanse your face at home, with natural products, in 6 simple and relaxing steps. Treat yourself with a wellness evening like you were at the Spa.
Many believe it is necessary to consult a professional for facial cleansing.
Of course, if you suffer from severe acne or other skin diseases it is better to contact a specialist so as not to inadvertently cause damage.
But for those interested in saving money and taking care of the face consistently, do-it-yourself face cleaning it’s a great alternative.
In this article we will talk about how to clean your face at home, with natural products, dedicating you a wellness evening as if you were at the Spa.
Why Facial Cleansing is So Important
Facial cleansing was already known and practiced in Ancient Rome, where aristocratic and wealthy women devoted most of the morning to skin care.
Facial cleansing is very important to remove dead cells, blackheads, small pimples and invisible impurities hosted by our skin.
It will make the skin less dull, giving it a younger and more radiant appearance.
Depending on the type of skin, the frequency with which to clean will be different, more frequent for those with oily skin and less frequent for those with dry skin.
How to Prepare for a DIY Facial Cleansing
Disclosure: Some of our articles contain affiliate links (as an Amazon affiliate I earn from qualifying purchases).
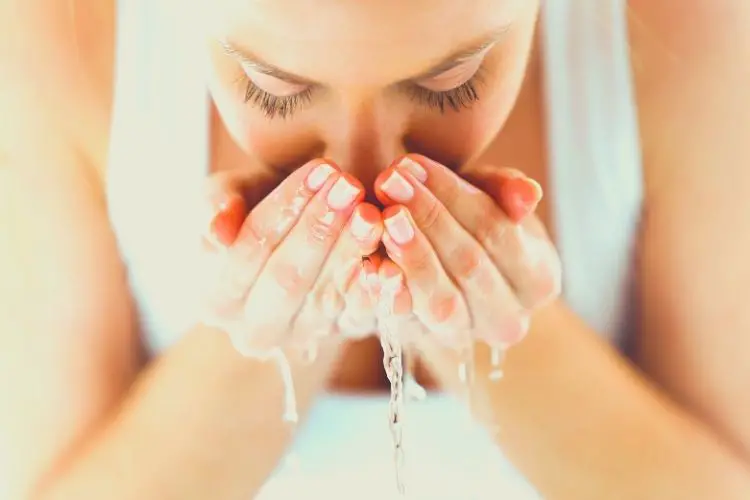
To prepare the skin for exfoliating facial cleansing, you need to remove your make-up thoroughly or, if you are not wearing make-up, wash your face very well with warm water, to liberate your pores from any obstacles.
As a make-up remover you can use a classic cleansing milk or prepare it at home.
In addition to your face, your hands will also need to be washed thoroughly before starting. Not washing your hands before starting is one of the most common mistakes.
Get everything you need and keep it handy and always use products that are suitable for your skin type.
Facial Cleansing Do It Yourself Step by Step

Do-it-yourself facial cleansing consists of 6 phases:
- Makeup Removal / Facial Wash
- Free Pores with Steam
- Scrub
- Face Mask
- Pat the skin with a toner
- Moisturizing cream and eye contour
1. Cleansing and Makeup Removal

To remove make-up, use a cleansing milk suitable for your skin type .
The search for the right one is not easy at all, there is a world of hundreds of products available on the market, it is a bit like venturing into the forest.
If you have not yet found the product for you, ask a dermatologist or herbalist for advice, or try to create a homemade cleansing milk.
Let’s say that in general the big division is between cleansing milk for dry skin and for oily skin.
And for those who do not wear makeup it is also important to use a good cleansing milk before going to sleep.
During the day the skin is in contact with pollution and dirt and without proper cleansing it can take on a gray complexion (when I lived in China it happened to me…)
Our tip for dry skin: Avene Gentle Cleansing Milk
Our tip for oily skin: Simon & Tom Cleansing Oil
2. Free the Pores with Steam
Now we come to the actual facial cleansing phase. Steam is certainly the crucial part of the whole process.
It serves, in fact, to dilate the pores of the skin to facilitate the escape of sebum, impurities and makeup residues still trapped.
Boil a medium-sized pot of water. It is not necessary to fill it too much, one liter of water will be more than enough.
Remove from heat and with a clean towel on your head, place your face so as not to let the steam escape. Needless to say, be careful not to burn yourself! Continue with the vapors for about 10 minutes.
Alternatively, there are very cheap facial saunas on the market, some can be used with scented essential oils.
Our Tip: Nymph Spa Home Facial Steamer Sauna
3. Face Scrub

Now that the pores are free of impurities and residual makeup, you can proceed with the scrub. Also in this, pay attention to the product you use based on your skin type.
For acne sufferers it’s best to opt for a gentle scrub to avoid worsening the situation, or to skip this step.
There are many products to buy, or you can opt for DIY in case you have nothing available or want to save a little.

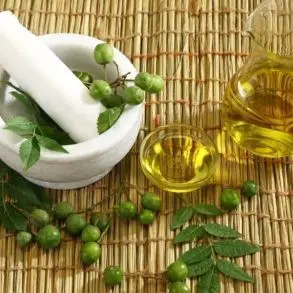
A coffee scrub can be prepared in a minute, just mix a teaspoon of honey, a teaspoon of coffee grounds and a teaspoon of olive oil.
Ecological and fast, mix the ingredients well and apply for 10 minutes, more abundantly in the points that require the most intense scrub.
Our Choice for Dry Skin: PraNaturals Scrub
Our Choice for Oily Skin: L’Oréal Paris Face and Lip Scrub
4. Face Mask
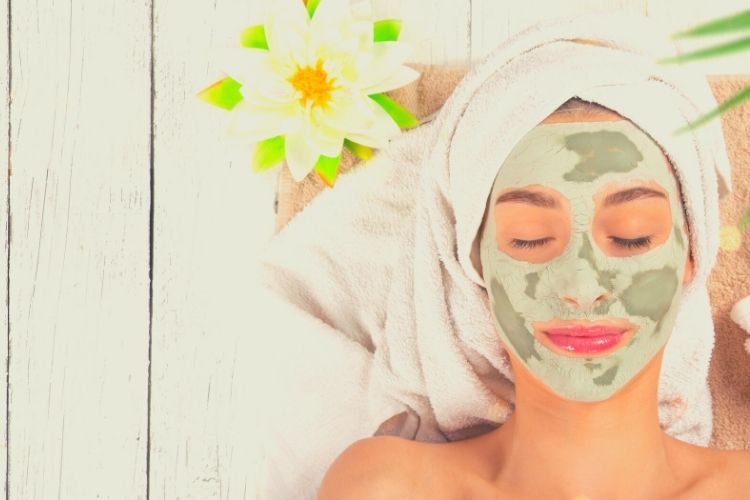
You can buy a face mask or opt for an ecological DIY mask. We have recently talked about the fresh aloe vera mask and the avocado mask, more suitable for dry skin.
They are both very fast recipes, but I advise you to prepare everything before leaving to perform all the steps in a fluid and much more relaxing way.
The application time varies from 10 to 30 minutes, depending on the recipe you choose.
Rinse well with water that is neither too hot nor too cold and pat dry with a soft, clean towel.
Our Recipes: Homemade Aloe Vera Mask
Our Recipes: DIY Avocado Mask
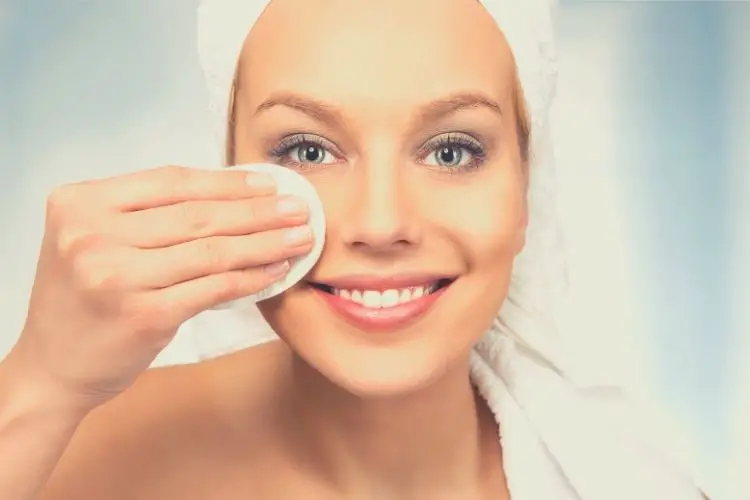
5. Pat the Skin With a Toner
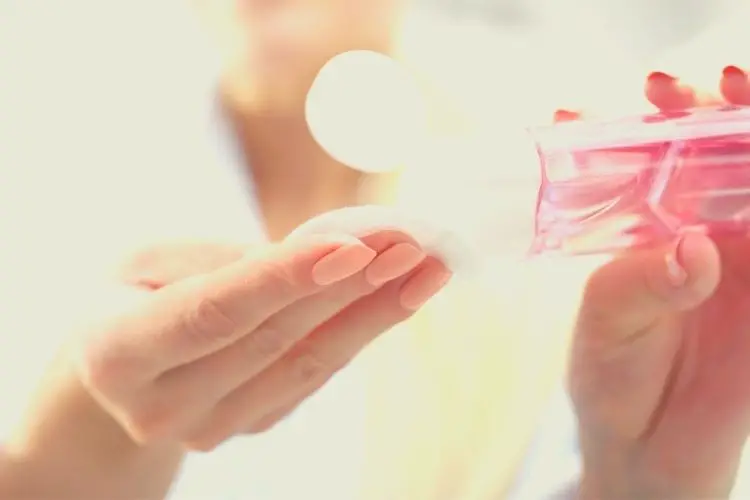
Use a toner suitable for your skin type, pat gently without rubbing.
You can use a cotton pad for this step but try to avoid the eye area.
6. Moisturizing and Eye Contour Cream Application
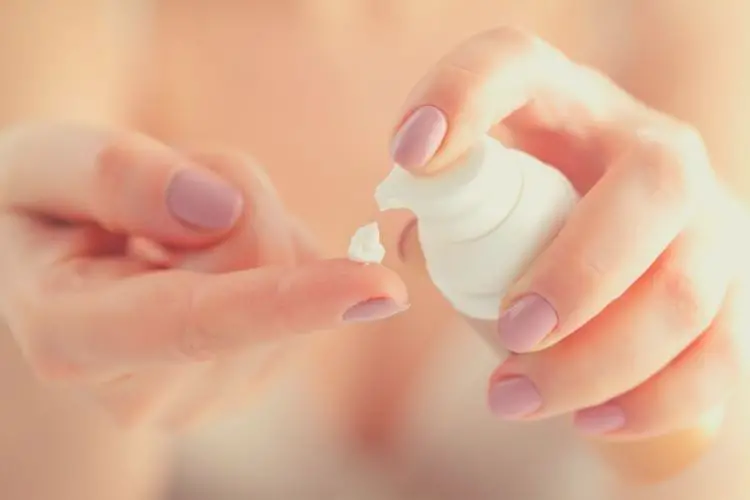
And here we are at the end of our DIY facial cleansing.
Choose an ideal cream for you, less rich and more purifying if you have oily skin and very moisturizing if it tends to dry.
Always apply the cream from the bottom up, and finish with the eye contour cream.
Our DIY Face Masks